When configuring a status’ type to be an image, the Image section provides an option to select Text to Image:
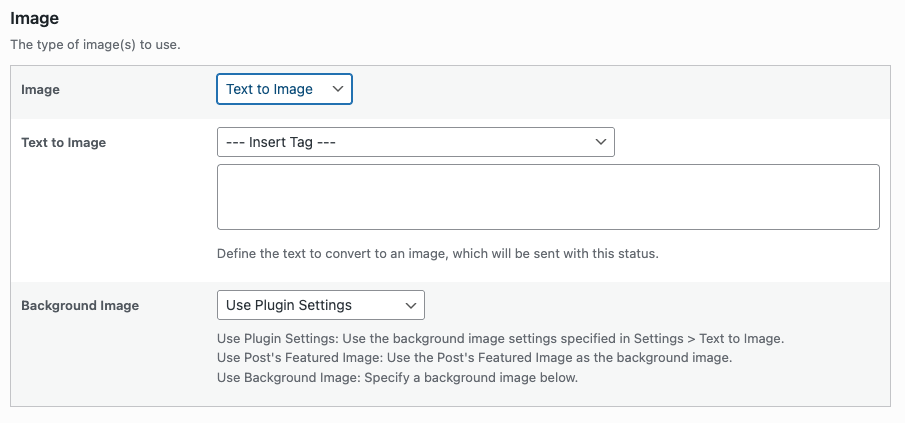
This provides the option to specify text and a background image, which is then converted to an image and included with the social media post.
[]
To use the text to image functionality, configure both the Plugin’s Text to Image settings and the status’ Text to Image settings.
Plugin Settings
In WordPress, click Social Post Flow in the administration menu:
Then click on the Text to Image tab:
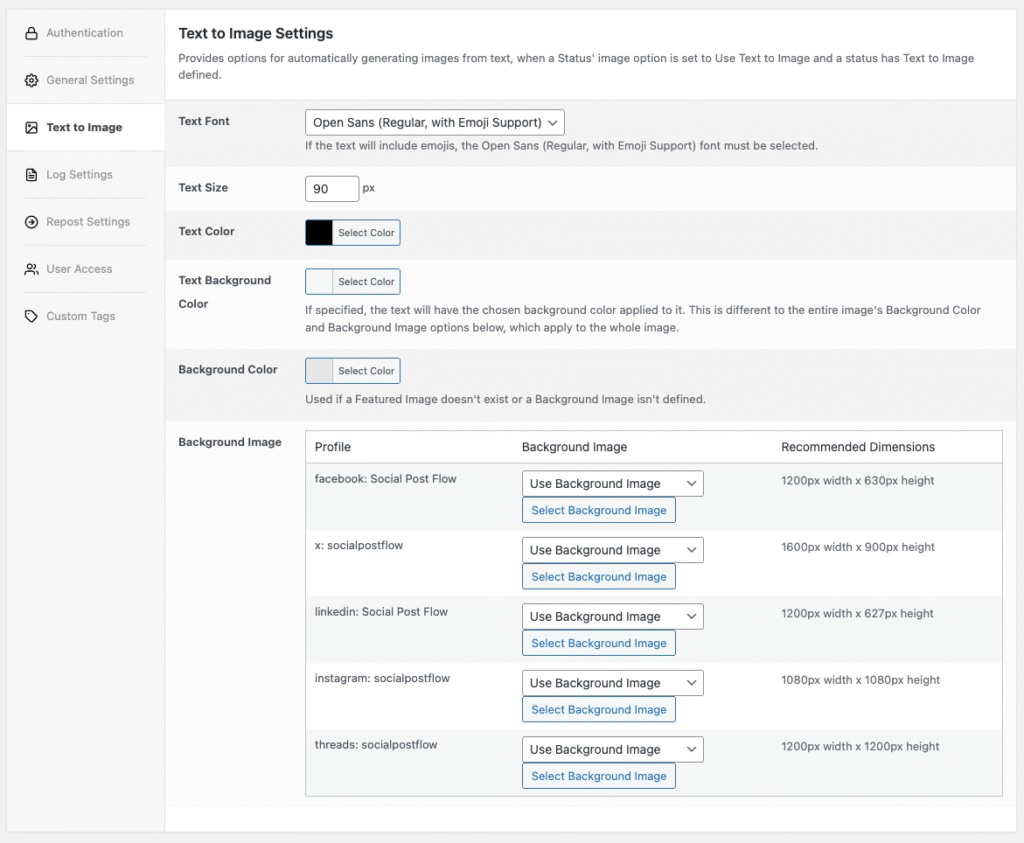
The following settings are applied to all images generated from the Text to Image specified on a status:
Text Font
Choose from either a Plugin-supplied font by selecting a font from the drop down menu, or your own TTF font by selecting the Custom Font option
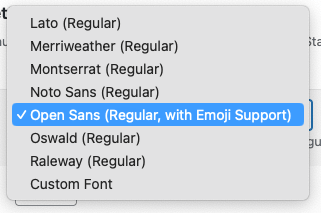

If the text to image setting on a status will include emojis, you must select either the Open Sans (Regular, with Emoji Support) font, or provide your own custom font that includes both text characters and emoji support.
To use your own TTF font:
- Select the Custom Font option, and click the Add/Replace Custom Font button.

- Upload the TTF font to your Media Library, or select the existing TTF font from your Media Library
- Click the Select button

Your WordPress configuration may prevent uploading of TTF files. You’ll need to temporarily add define( 'ALLOW_UNFILTERED_UPLOADS', true ); to your wp-config.php file, upload your TTF font and then remove this change from your wp-config.php file afterwards.
To remove your existing TTF font, click the Remove Custom Font button.
Text Size
Defines the size of the text to display on the image. A recommended value of 50px is provided.
Text Color
Defines the text color. Click the Select Color button and either input the hex color or select one from the color picker.
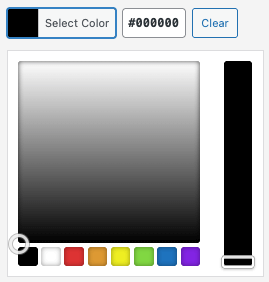
Text Background Color
If specified, the text will have a background applied to it. This is different to the entire image’s Background Color and Background Image options below, which apply to the whole image.
Click the Select Color button and either input the hex color or select one from the color picker.

To remove the text background color, click the Clear button
Background Color
Defines the background color for the entire image. This can be overridden by a background image, if one is specified for the Social Media Profile.
Click the Select Color button and either input the hex color or select one from the color picker.

Background Image

This setting can be overriden when configuring individual statuses that are of the Image type and set to use the Text to Image functionality.
For each Social Media Profile, an option is displayed to define a Background Image:
- Use Post’s Featured Image: If selected, the Post, Page or Custom Post’s Featured Image will be used as the background image.
- If a Post does not have a Featured Image, the Background Color setting above will be used.
- Use Background Image: If selected, a button is displayed to select a background image for the social media profile.
- If no background image is then chosen, the Background Color setting above will be used.
Because the status’ Text to Image text will be centered on the image, the Background Image option is useful if, for example, you want to apply your branding and/or logo to the outer part of the image:.
For each Social Media Profile, you’ll also see the Recommended Dimensions.
To use your own background image:
- Select the Use Background Image option from the dropdown

- Click the Select Background Image button

- Upload the background image to your Media Library, or select the existing background image from your Media Library
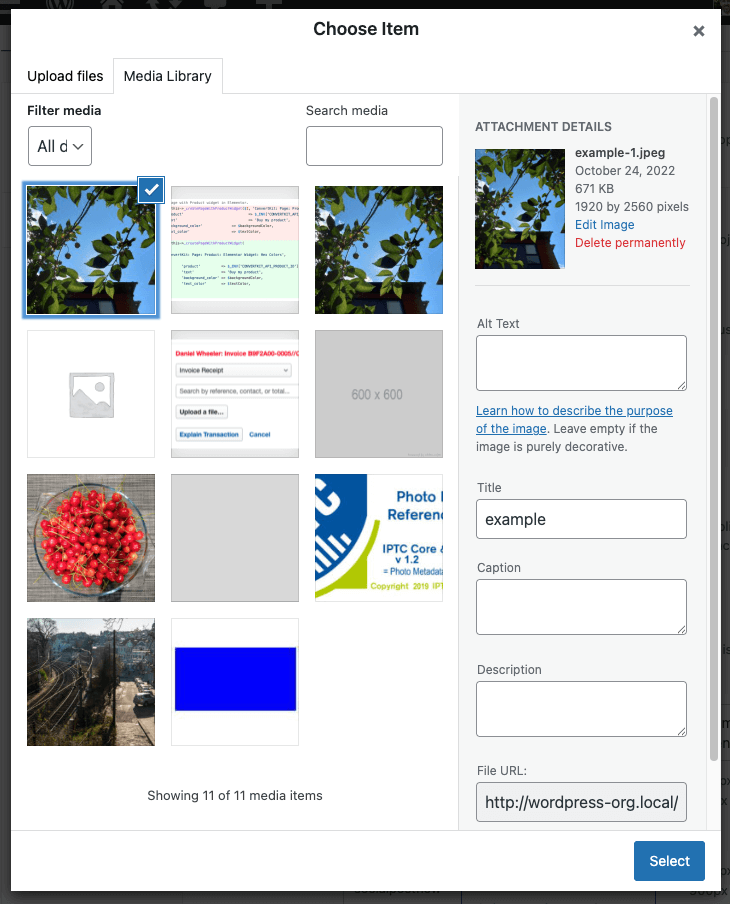
- Click the Select button
To remove your existing background image for this Social Media Profile, and therefore use the Background Color option:
- Click the cross icon
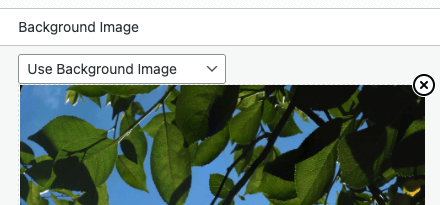
Remember to click the Save button when all changes are made.
Status Settings

The text must not exceed approx. 180 characters. Use the Status Tag’s character, word and sentence limits to ensure your text meets this requirement. A future update will support more characters in the text to image functionality.
When configuring a status’ type to be an image, the Image section provides an option to select Text to Image:

This is useful if, for example, you want to schedule statuses to a Social Media profile that requires images (e.g. Instagram), but your Post might not support Featured Images, or you might not want to use Featured Images.
The following options are available:
- Text to Image: The text to overlay above the image.
- Status Tags are supported.
- Background Image: The image to use as the background, behind the Text to Image
- Use Plugin’s Settings: The Background Image setting defined for the social media profile in the global Text to Image Settings will be used for this status.
- Use Post’s Featured Image: The Post’s Featured Image will be used as the background image for this status.
- Use Background Image: The chosen image from the Media Library will be used as the background image for this status. Click the Select Background Image button to choose an applicable image.
For color, background image and text styling options, refer to the global Text to Image Settings.
To save changes, click the Save button towards the bottom of the screen.

Common Issues
Background image not working
- Ensure Status’ image setting is set to Text to Image
- If using e.g a PNG, test with a JPEG. Conversely, if using a JPEG, test with a PNG.
- Ensure PHP GD Library or Imagick is installed and compiled with your web host
- Enable debugging logging, making a note of warnings and errors in the debug.log file when a status has been created.
Emojis not rendering
- Text Font setting must be either:
- Open Sans (Regular, with Emoji Support), or
- A custom font (.ttf file) that includes both text and emojis
- PHP Imagick Library is installed and compiled with your web host.